Thai Turkey Sliders and Black Bean, Sweet Potato Empanadas

Ah! I have already failed my NYR… three weeks since I’ve posted. But I’m back so I forgive myself. To make up for it I have two recipes, hooray!

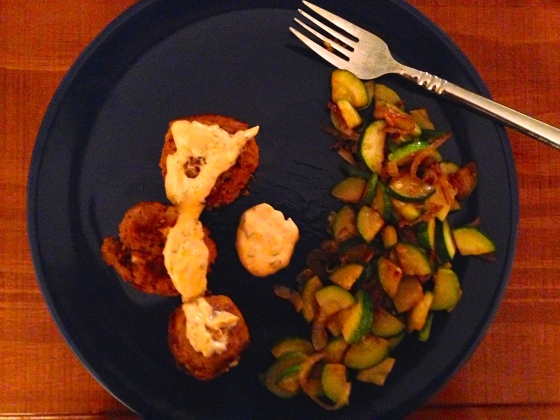
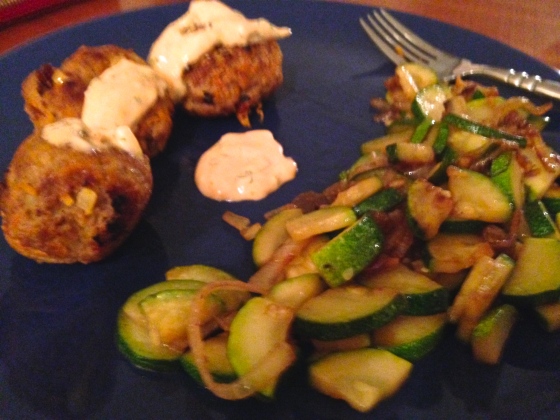
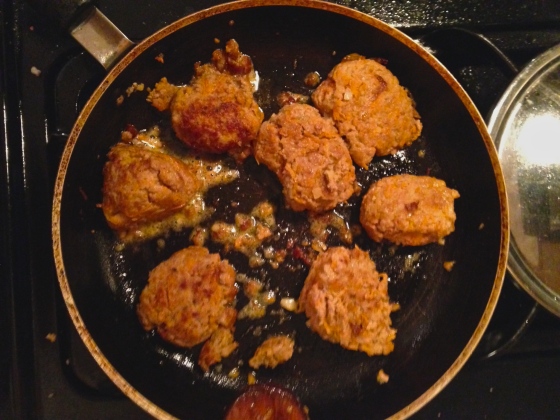
First up, Thai Turkey Sliders. They’re GF and DF so guilt free and delicious. I’ve actually been very proud of myself for exploring new recipes that aren’t just easy stir fries or taco bowls. This is definitely one to keep in the book because it doesn’t require too much that you wouldn’t already have in the pantry. Plus it’s a good dish for entertaining if you just increase the recipe (adapted from here). I apologize, the pictures are atrocious this week.IMG_0001
Ingredients

Burgers

8oz 93% Lean Ground Turkey

1 Medium Carrot, shredded

1 Large Scallion, minced

¼ Teaspoon Sesame Oil

1 Teaspoon Chili Garlic Sauce

2 Tablespoons Natural Peanut Butter

Freshly Ground Salt & Pepper, to taste

½ Teaspoon Ground Ginger

Sauce

2 Tablespoons Vegan Mayo

Handful of Cilantro, finely minced

1-2 Teaspoons Sriracha

Bibb Lettuce Leaves, for serving

Directions

1. Combine the burger ingredients a mixing bowl and combine thoroughly.

2. Heat a skillet over medium-high heat and spray lightly with cooking spray.

3. Form the turkey mixture into 16-20 miniature “sliders”.

4. Cook the patties for about 3-5 minutes per side, until cooked through.

5. Stir together the mayonnaise, cilantro, and chili garlic sauce, to taste.

6. Serve the burgers on buns with the cilantro-chili mayo on Bibb lettuce leaves.

IMG_0002

IMG_0003

Now the next recipe I sadly didn’t take pictures – vegetarian empanadas. This was one of the harder things I’ve ever tried to make, since it also consisted of making the dough from scratch. Even though I followed the directions, the dough didn’t turn out quite right (very dry) so I probably would buy store bought next time. Other than that, these have been great because I just popped a couple into a few plastic bags and froze them for later. A great addition to my freezer-friendly meal plan and it’s also vegetarian/DF. Recipe adapted from here.

Ingredients

2 cups all-purpose flour

3/4 teaspoon kosher salt

1/3 cup canola oil

1/4 cup cold water

1 tablespoon cider vinegar

1 large egg, lightly beaten

1 jalapeno chile

1 tablespoon cumin powder

1 cup mashed cooked sweet potatoes

1 cup canned black beans, rinsed and drained

1/3 cup chopped green onions

2 tablespoons chopped fresh cilantro

1 teaspoon ancho chile powder

1/2 teaspoon kosher salt

1 egg white, lightly beaten

Instructions

1. Weigh or lightly spoon flour into dry measuring cups, and level with a knife. Combine flour and 3/4 teaspoon salt in a large bowl, stirring with a whisk. Combine canola oil, 1/4 cup water, 1 tablespoon vinegar, and egg in a medium bowl. Gradually add oil mixture to flour mixture, stirring just until moist. Knead lightly until smooth. Shape dough into a ball, and wrap in plastic wrap. Chill for 1 hour.

2. Preheat broiler.

3. Place jalapeno on a foil-lined baking sheet; broil 8 minutes or until blackened, turning after 6 minutes. Place in a paper bag; close tightly. Let stand 15 minutes. Peel chile; cut in half lengthwise. Discard seeds and membranes. Finely chop.

4. Preheat oven to 400°.

5. Combine cumin, jalapeno, sweet potatoes, and next 5 ingredients (through 1/2 teaspoon salt) in a large bowl; mash with a fork until almost smooth.

6. Divide dough into 10 equal portions, shaping each into a ball. Roll each dough portion into a (5-inch) circle on a lightly floured surface. Working with 1 portion at a time (cover remaining dough to keep from drying), spoon 3 level tablespoons poblano mixture into center of each circle. Moisten edges of dough with egg white; fold dough over filling. Press edges together to seal. Place empanadas on a large baking sheet coated with cooking spray. Cut 3 diagonal slits across top of each empanada. Bake at 400° for 16 minutes or until lightly browned.

So there you have it! Two new dishes to try out, both healthy and freezable. Bon appetit!
Large Scale Cooking

I’ve always been hesitant to make anything I have to separate into portions and either freeze or eat that week. There’s something depressing about it, like the fact it makes me feel old and adult-ish. But now that I am an adult I felt that I should try it again. I had a box of pre-cooked lentils in my fridge so that became the main theme of the dishes, along with soup since it’s so chilly here and I was so hopeful that Juno would actually shakes things up in Charm City (she didn’t but it’s still been plenty cold enough for soup).

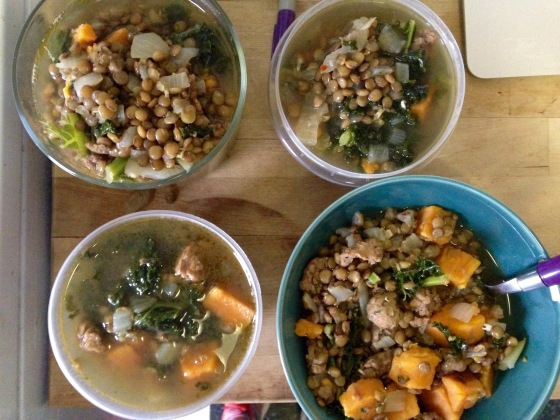
FullSizeRender (1)

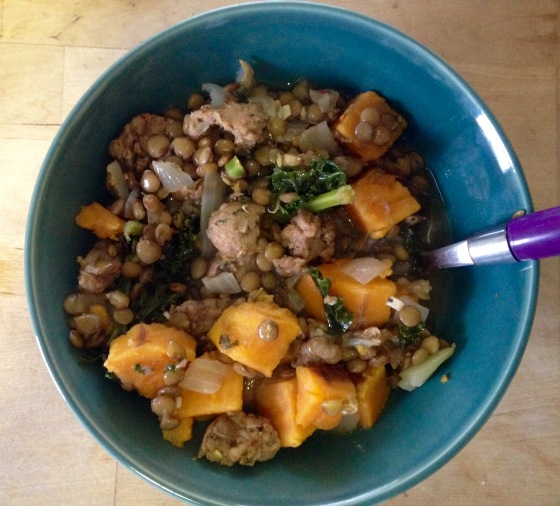
I took all the recipes from other websites so rather than go through each one here and rewrite them, I’ll just post the links and my reviews of them. First up, lentil stew with sausage, kale and sweet potatoes. This was my favorite dish of the three, based on both taste and how long it lasted. Here is the original recipe. The only changes I made were using chicken sausage instead of pork, and I chose kale instead of mustard greens because they cost half as much at Trader Joe’s. I also only used one large onion which was plenty. It tasted delicious right when it was done cooking, but also a day later. I separated it into five portions and froze one of them, while keeping the rest in the fridge. The only complaint I have is that the sausage started to toughen up. But the taste remained wonderful.

FullSizeRender

Next I made lentil lasagna using this recipe. I was pleasantly surprised by this considering the fact that it was only five ingredients and one of them was creamy tomato soup rather than red sauce. The directions are a bit confusing so to clarify my layers went as such: Tomato soup, pasta, pesto, lentils, tomato soup, pasta, pesto, lentils, tomato soup, pasta, pesto, lentils, tomato soup, pasta, tomato soup, pesto, cheese. Sorry that isn’t especially clarifying but the original directions make it sound like you should only have two layers of pasta. I also used much more than one cup of precooked lentils, but that’s because I like meaty lasagna and because I wanted to use up the whole package. Clearly this dish isn’t dairy-free but there isn’t too much so my stomach felt alright after eating it. The slices weren’t incredibly easy to separate but I managed to cut up half and put it in the fridge while packing up the rest in one serving packets to freeze. It tasted good the whole week after but next time I think I’ll freeze more because I got sick of lasagna after about three days in a row.

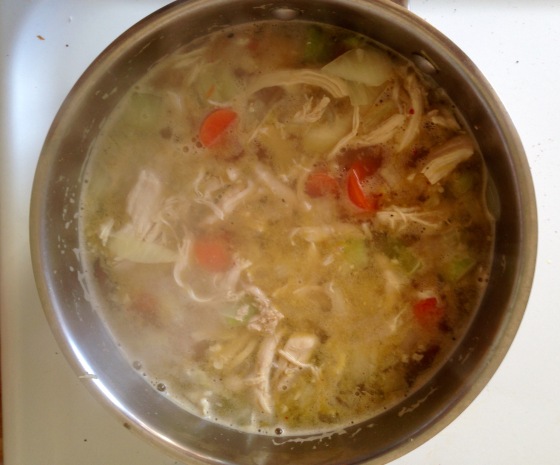
Finally I made chicken noodle soup, based off the recipe of Tyler Florence’s recipe. The recipe calls for you to make your own broth but since I don’t have the patience, time, or funds to do so I just used Trader Joe’s chicken broth and that worked fine. A few adjustments I would make: the two carrots wasn’t really enough for me so I would definitely double the amount; I didn’t add the noodles because I wanted to refrigerate and freeze the soup so instead I will just make egg noodles when I want the soup and then add them, but this means that you need less broth (1 1/2 quarts instead of 2). After I made it I just froze two portions and put the rest of the fridge.

Let me know what your favorite dishes are to make ahead of time! 

FullSizeRender (2)


How to Fit As Many Calories As Possible Into A Brownie (and have it be dairy-free)

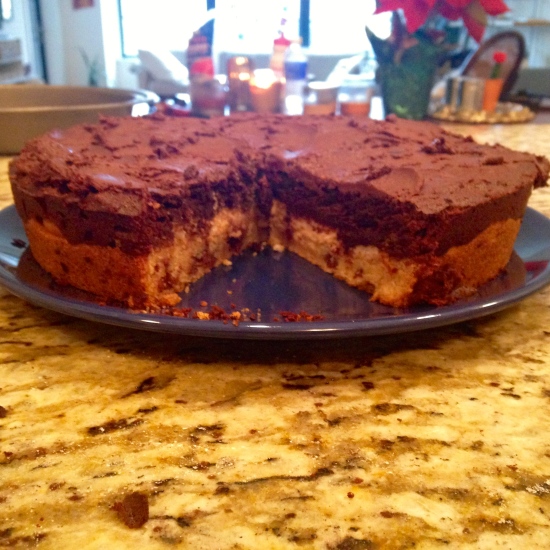
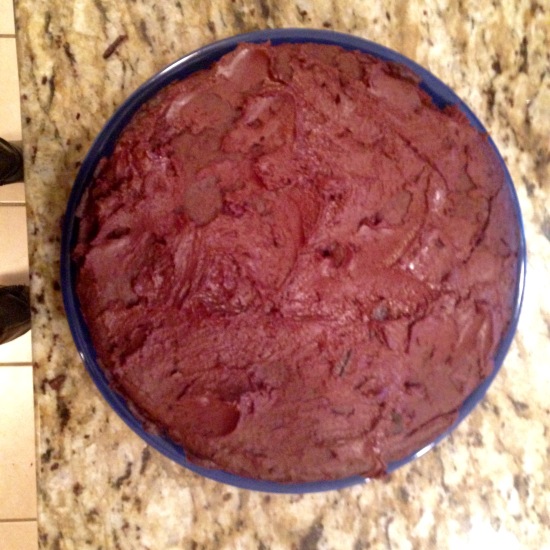
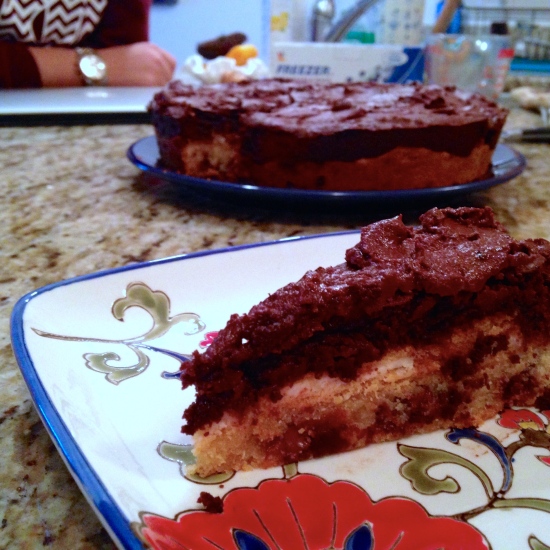
Sometimes you just have to be a little naughty when it comes to food. I love to bake but I’ve found that it usually ends in me eating an entire roll of cookies or an entire pan of brownies. The solution? Make something so rich and sugary that it is physically impossible to eat more than one slice without getting a tummy ache. That is this cookie-brownie-oreo-with-chocolate-ganache recipe. Don’t get me wrong, this thing is delicious. But I would be seriously impressed with anyone able to eat the whole pan.

triple layer brownies

Classes start back up next week, but since I graduated in December I am about to enter a serious lull of things to do. Which is also what decided this baking binge. There’s seriously no better way to convince people to hang out with you than making something so good that people have to try it. Then just force them to stay by turning on a marathon of Parks and Rec. It’s a flawless plan. What are some other ways you make plans to hang out with people that costs minimal money? I always need advice on this subject since I am currently unemployed and out of school.

“Betcha Can’t Eat More Than One” Brownies (adapted from I Just Got Dumped Brownies by Gal on A Mission)

Triple layer brownies

Ingredients
Chocolate Chip Cookie Dough Layer
  • ½ cup (1 stick) unsalted margarine, softened to room temperature
  • ½ cup light brown sugar
  • ½ cup white granulated sugar
  • 1 large egg
  • 1 teaspoon vanilla extract
  • 1 and ½ cups all-purpose flour
  • ¼ teaspoon salt
  • ½ teaspoon baking powder
  • ½ cup vegan chocolate chips
Oreo Layer
  • 15 Golden Oreos
Brownie Layer
  • 10 tablespoons (1 and ¼ stick) unsalted margarine, melted
  • 1 cup white granulated sugar
  • 2 large eggs
  • ¾ cup cocoa powder, unsweetened
  • 1 teaspoon vanilla extract
  • ½ cup all-purpose flour
  • ¼ teaspoon salt
Chocolate Ganache
  • ½ cup vegan chocolate chips
  • 1 tablespoon margarine
  • 1 tablespoon coconut cream

Cookie Dough Layer

Instructions

  1. Preheat oven to 350 degrees and line an 8×8 baking dish with aluminum foil. Lightly grease. Set aside.
  2. Chocolate Chip Cookie Dough Layer – In a large mixing bowl, cream the margarine, light brown sugar, and white granulated sugar.
  3. Add in the egg and vanilla extract and mix. Slowly add in the all-purpose flour ½ cup at a time and mix thoroughly.
  4. Add in the salt and baking powder. Fold in the chocolate chips.
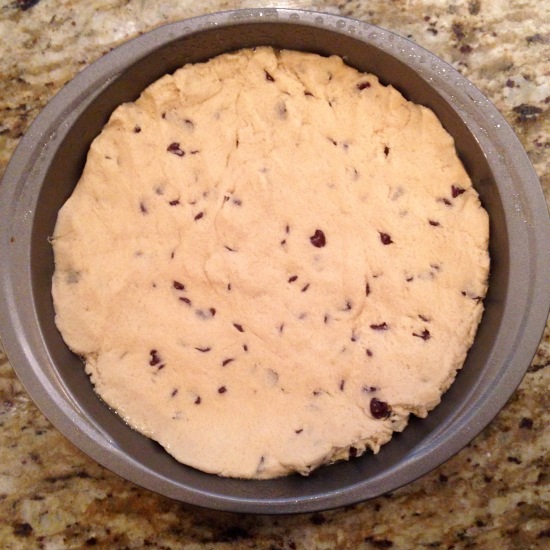
  5. Spread the cookie dough layer on the baking dish and spread all over. Make sure the layer is even.
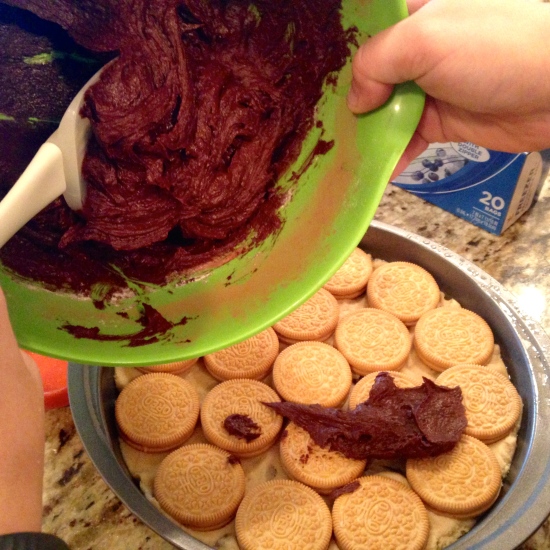
  6. Add the Oreos on top of the cookie dough layer.
  7. Brownie Layer – Wash and dry the large mixing bowl, combine the melted margarine, sugar, eggs, and cocoa powder. Mix together.
  8. Add in the vanilla extract, flour, and salt.
  9. Spread the brownie layer on top of the Oreo layer and make sure it is even.
  10. Bake for 35-40 minutes. Insert a toothpick in the middle and if it comes out clean it is done.
  11. Allow the brownies to completely cool.
  12. Prepare the chocolate ganache layer by melted the chocolate chips and shortening in the microwave for 15 seconds at a time until the chocolate chips are melted. Stir in the coconut cream. Spread on top of the cooled brownie bars.
  13. Slice and enjoy!

Seriously. I dare you to eat more than one. Also, highly recommend enjoying this with a big glass of almond milk. Yum.

triple layer brownies triple layer brownies

Quinoa-Broccoli Patties (Vegan option)

Once again, a dish made that’s practically vegan… and if you want it to be vegan, just omit the cheese or use vegan cheese, your choice.

One of the reasons I started blogging again is the fact that I felt I kept cooking the same dishes everyday. Pasta. Chicken sausage. Sautéed veggies. I needed to switch it up, and the only way I would do that is if I got inspired. So now I’m back at it, reading blogs everyday and looking for some recipe ideas. So let me know if you have any!

Today’s lunch features quinoa again. I’m trying to use healthier grains in my diet rather than just pasta. But I’m on my last few servings of quinoa, and that stuff is expensive, so look for some brown rice recipes coming up!

quinoa, vegetarian, lunch

Ingredients:

1 cup of broccoli, chopped

1/4 cup quinoa

1/2 cup water

1/4 cup bread crumbs, Italian style

1 cornstarch egg (1 tablespoon cornstarch, 3 tablespoons water)

One lemon wedge

As much parmesan cheese as you want

Salt and pepper

Garlic powder

Olive oil for panfrying

Directions:

1. Steam broccoli and then cut into tiny pieces.

2. Add quinoa and water, bring to a boil then let simmer until all the water is absorbed.

3. Add all ingredients, including quinoa and broccoli, into a bowl. Mix together until everything is well distributed.

4. Heat oil in pan over medium heat.

5. Form mix into balls.

6. Add balls to the pan. Cook each side 6-8 minutes, until golden brown, then place on paper towel to drain excess grease.

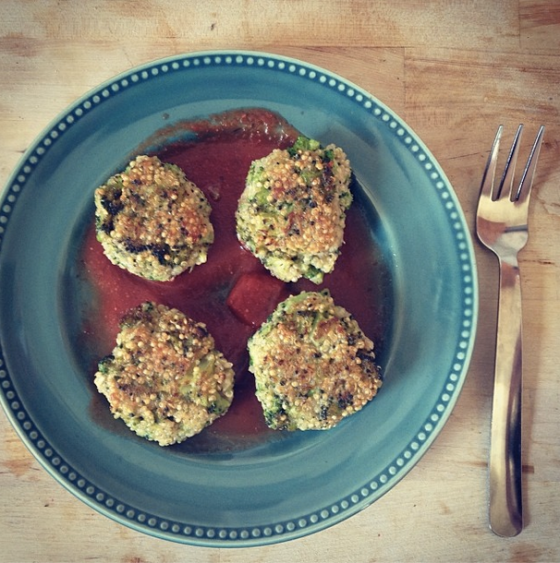
I ate mine over homemade tomato sauce. They were so SO good.

Bon appetit!